The First Thing to Upgrade on a New Bike
It’s the best day in any rider’s life—New Bike Day! Whether it’s your first motorcycle or your third, the thrill of bringing a new machine home never gets old. Today, I’m sharing the top three things I do with every new motorcycle the moment it arrives. These steps are essential to protecting your investment, customizing it to your needs, and ensuring it’s ready for the road.
New Bike Day: The Three Things I Always Do First
Step 1: Protection is Key
Before I even hit the road, my focus is on protecting the bike. Here’s what I do:
Radiator Guards
Radiator guards are non-negotiable for me. These simple but effective add-ons shield your radiator from road debris, bugs, and anything else that might compromise its integrity. In fact, I usually order them before the bike is delivered. If you’re wondering how to install them, don’t worry—there’s a dedicated guide!
Radiator Guards: https://amzn.to/3YW09JW
Clear Bra Protection
To keep the paint pristine, I take the bike to a window tint shop that also offers clear bra wrapping. This invisible shield protects against chips, scratches, and UV damage.
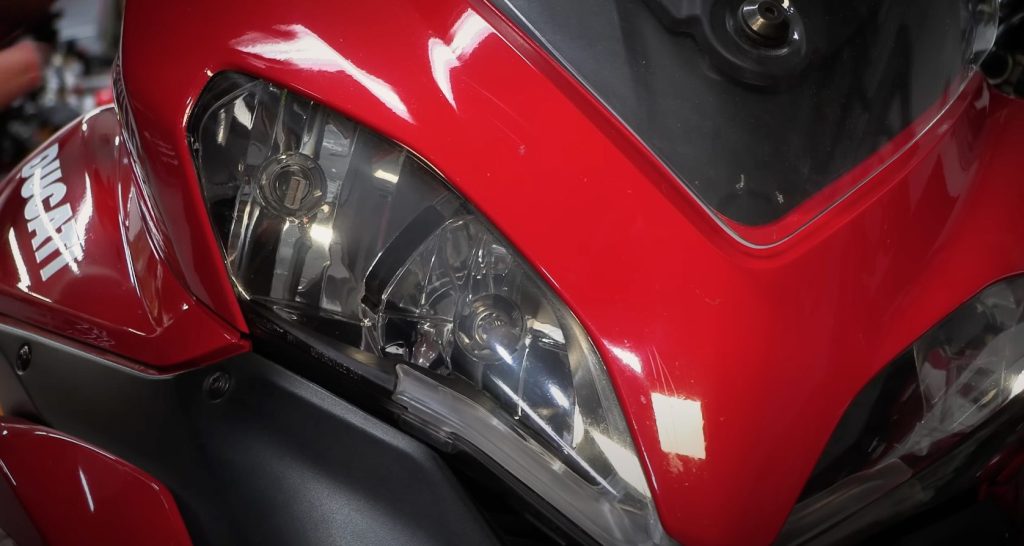
Case in point: my previous bike, wrapped from day one, has held up remarkably well with minimal wear even after years of use. Compare that to most bikes of similar age and mileage, which often sport pitted paint and hazy headlights.
My Clear Bra Guy: https://www.instagram.com/rideimage/
Axle Sliders and Case Covers
Axle sliders on the front forks are another must-have. They protect expensive components from scratches or damage during minor mishaps. I avoid frame sliders and rear swingarm sliders due to their potential to cause more harm than good. Instead, I invest in case covers, like those from GB Racing, which provide excellent protection without risking damage to the frame or swingarm.
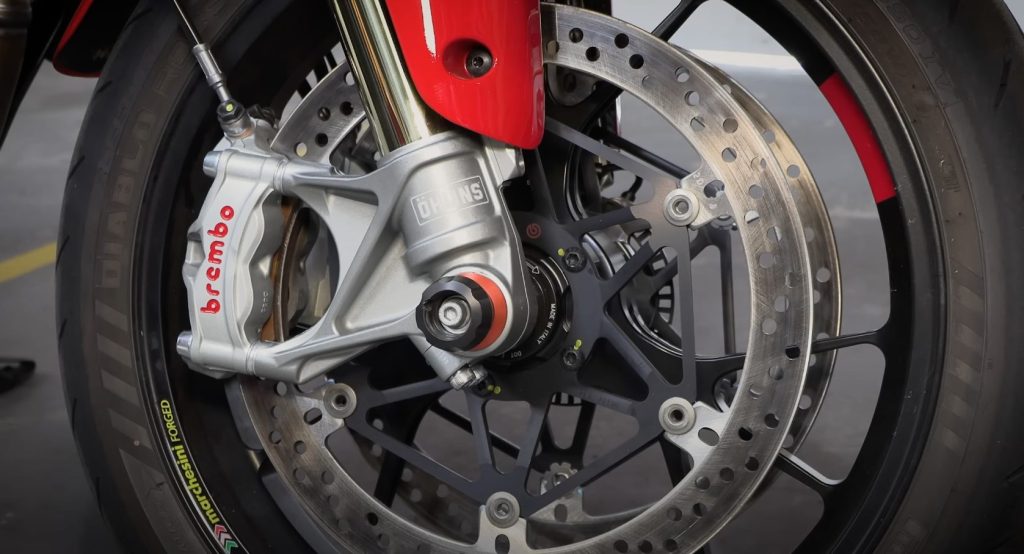
GBRacing: https://www.gbracing.eu/
Step 2: Adjusting the Controls
Every rider is unique, and your motorcycle’s controls should reflect your biomechanics. Adjusting the controls ensures you can ride comfortably and safely. Here’s how:
Handlebar Controls
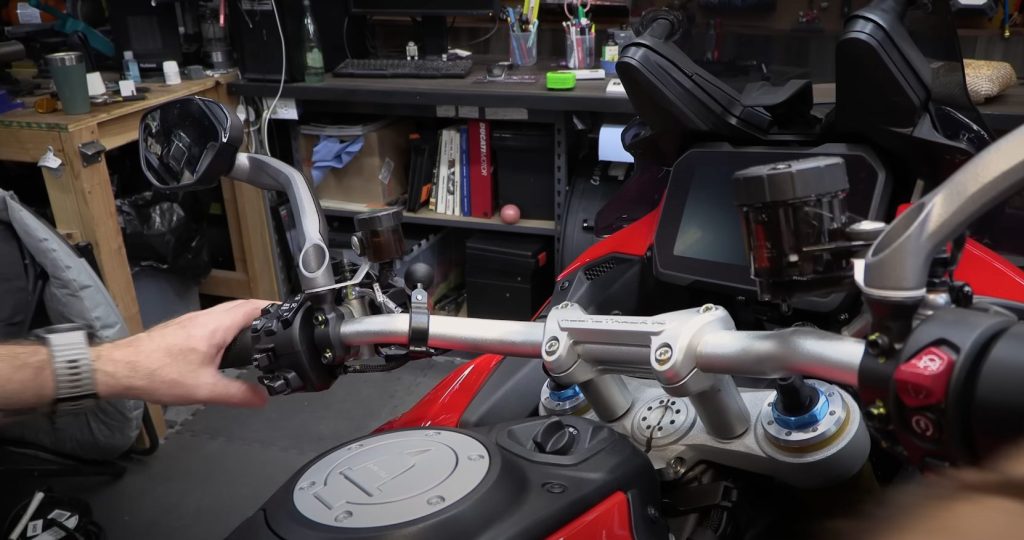
Start with the clutch and brake levers. Loosen the mounting brackets and adjust the angle so your wrist and forearm form a straight line when gripping the lever. This neutral position reduces strain and improves control. Once set, tighten the bolts according to the manual’s torque specifications.
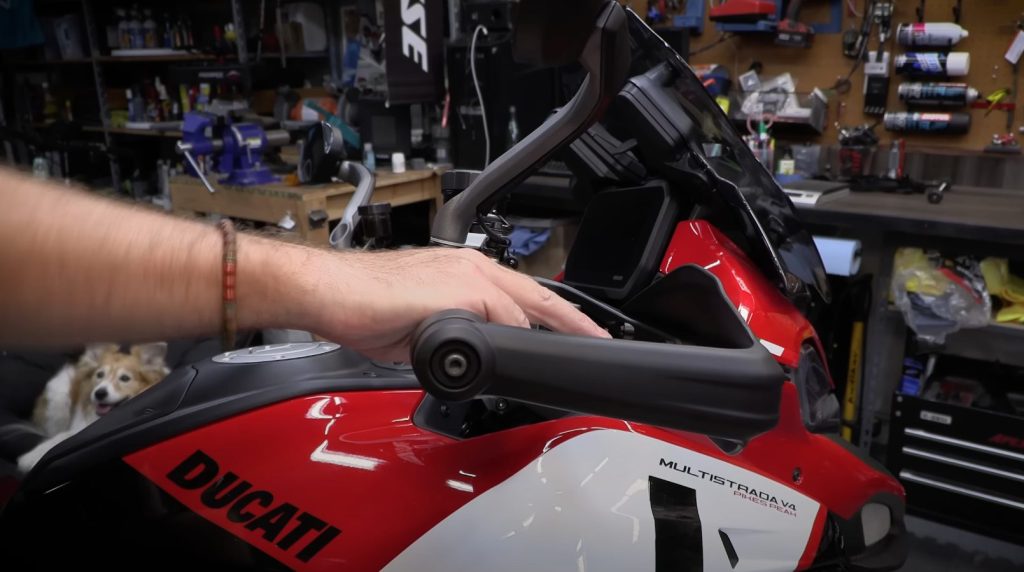
For lever distance, adjust to ensure your fingers comfortably reach the lever pads. You don’t want to overstretch or pinch your fingers—aim for a natural grip.
Foot Controls
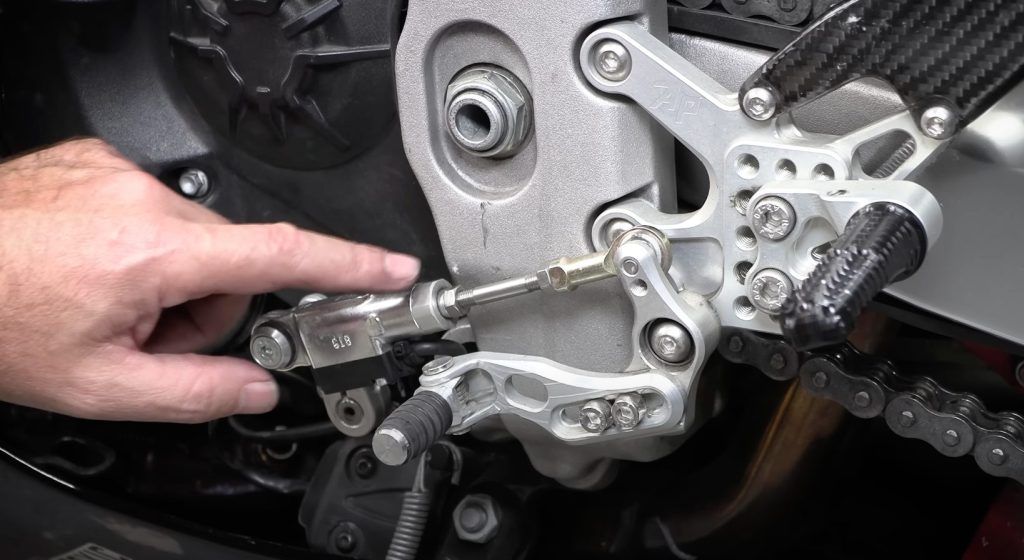
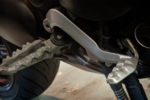
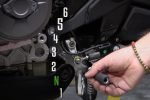
Put on your riding boots and check the shift lever position. If it’s too low or high, adjust it to match your boot and riding style. Most bikes have an adjustable shift linkage that allows for fine-tuning. Rear brake adjustments are usually more complex, so unless it’s way off, it’s best to leave it alone.
Clip-Ons vs. Tube Handlebars
If your bike has tube handlebars, you can adjust their angle by loosening the bolts and repositioning them. For clip-ons, aftermarket options might be necessary to find the perfect fit, as their angle is typically fixed.
Step 3: Practice Makes Perfect
With your bike protected and adjusted, it’s time to ride! But your first rides shouldn’t be about speed or technical maneuvers. Instead, focus on getting familiar with your motorcycle and building essential skills.
Braking Practice
Stopping is the most critical skill you can practice. Here’s a pro tip: focus on the first and last 5% of your braking motion. Instead of grabbing the brake abruptly, squeeze it gently at first to allow weight transfer to the front tire. Gradually increase pressure for effective stopping power, and ease off slowly to avoid fork rebound.
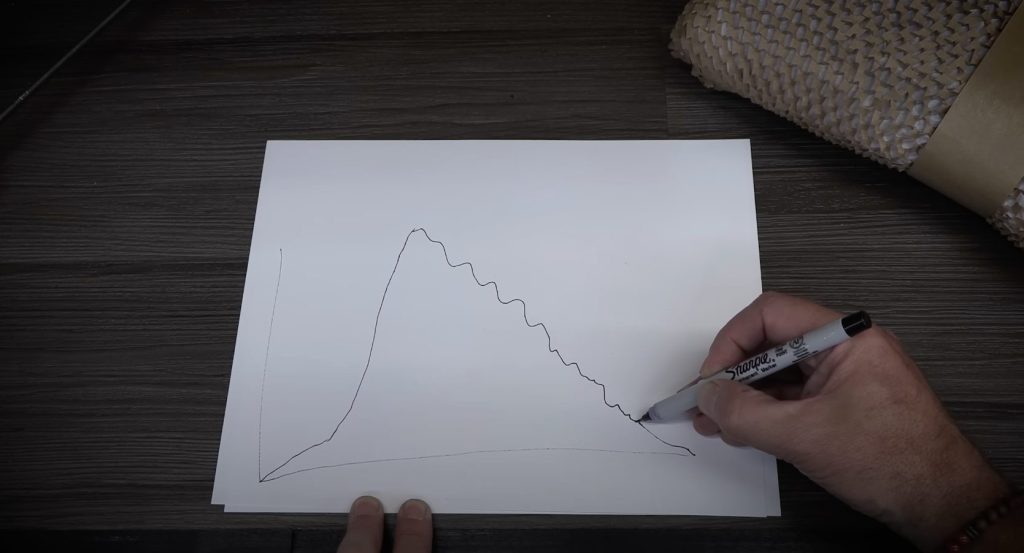
Practicing this dynamic braking technique not only improves safety but also helps bed in your new brake pads and rotors. Take your time to get a feel for the brakes and build muscle memory.
Mellow Rides
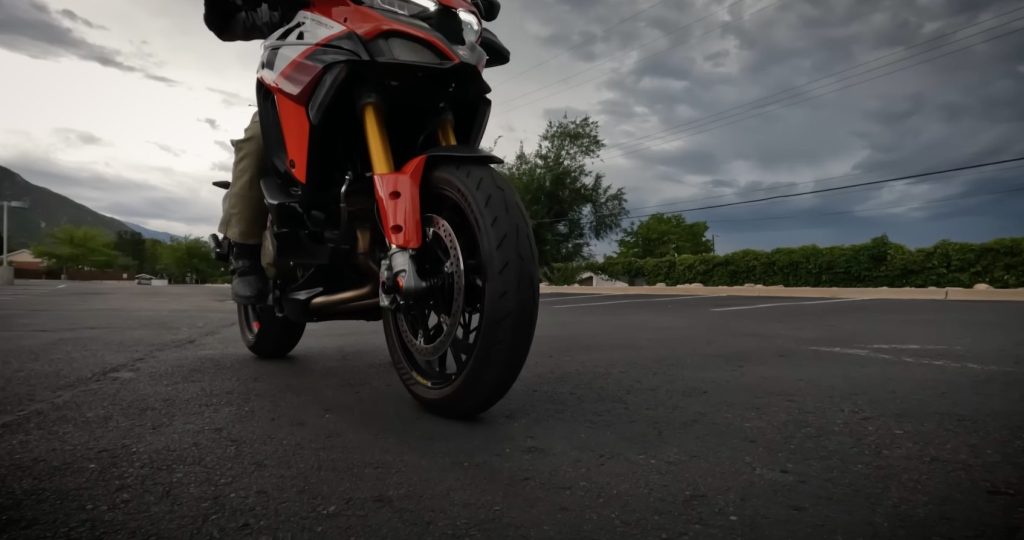
Skip the tight U-turn drills and technical roads on your first rides. Instead, opt for mellow, familiar roads to get accustomed to the bike’s weight, handling, and balance. These easy rides help you build confidence and develop a natural connection with your new motorcycle.
Final Thoughts
Congratulations on your new bike! Whether you’re riding a Ducati Multistrada Pikes Peak with a GranTurismo V4 engine (like my latest addition) or something entirely different, these steps will set you up for success. Protect your bike, adjust it to fit your body, and practice essential skills to get the most out of your new ride.
Enjoy the journey, and remember—New Bike Day is the best day. Ride on and ride well!
[…] my previous post, I talked about New Bike Day and the essential upgrades I recommend for every new motorcycle. Among those upgrades, radiator […]
How much does your Clear Bra guy charge? I’m getting quoted $800-$1300 which seems kind of high by my local window tint businesses. Interesting that a lot of the businesses don’t even do Clear Bras, only tinting.
Thanks
About $600 depending on how big the bike is and how much material is needed