L74 Rear Wheel Quick Change Kit
Transforming Tire Changes: A Quick Change Kit Adventure
If you’re into motorcycles, you’ll know that tire changes can range from mildly inconvenient to outright frustrating—especially if you’ve been spoiled by some of the more refined setups. Enter me: a self-confessed Ducati-spoiled rider. But today’s story isn’t just about indulgence; it’s about finding a solution to a persistent problem, and it starts with single-sided swingarms.

The Joy of the Single-Sided Swingarm
First, let’s talk about how spoiled I am. If you’ve ever worked on bikes from Ducati, Triumph, or even BMW (with their shaft drives), you’ll know what I mean. Need to remove the rear wheel? It’s as simple as loosening one nut. That’s it. The wheel comes off cleanly, and the brake caliper, disc, and chain all stay aligned. When you’re done, slap the wheel back on, tighten that single nut, and you’re good to go.
It’s clean.
It’s efficient.
It’s glorious.
But not every bike enjoys this luxury. Case in point: my Aprilia RSV4/Tuono—a bike that sees more tire changes than anything else in my garage. With its traditional swingarm, swapping a tire becomes a full-blown operation:
- Removing the axle.
- Wrestling with the chain.
- Maneuvering the brake caliper and disc.
Every step is a juggling act. Yes, I know I’m spoiled, and I accept it. But today? We’re fixing this.
Enter the Quick Change Kit
The solution? A quick-change kit from UK-based company L74. This isn’t a sponsored shoutout—I paid for it out of pocket—but it promises to transform the way I handle tire swaps on the Aprilia. The kit includes precision-machined components, reverse-thread axles, and hardware designed to make life easier for frequent track riders like me.
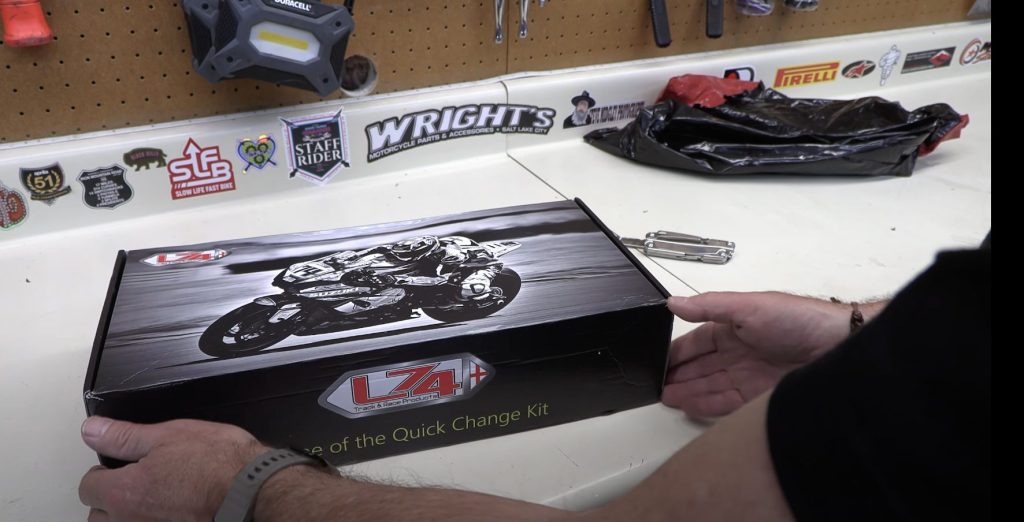
Let’s dive into the installation, the hiccups, and why this kit is a game-changer.
Step 1: Removing the Wheel
Before we get to the good stuff, we start with the tedious part: removing the rear wheel. For those dealing with traditional swingarms, here are a few pro tips:
- Reverse the axle direction (if possible): Insert the axle from the opposite side so tightening the nut pulls the wheel forward, keeping chain alignment intact.
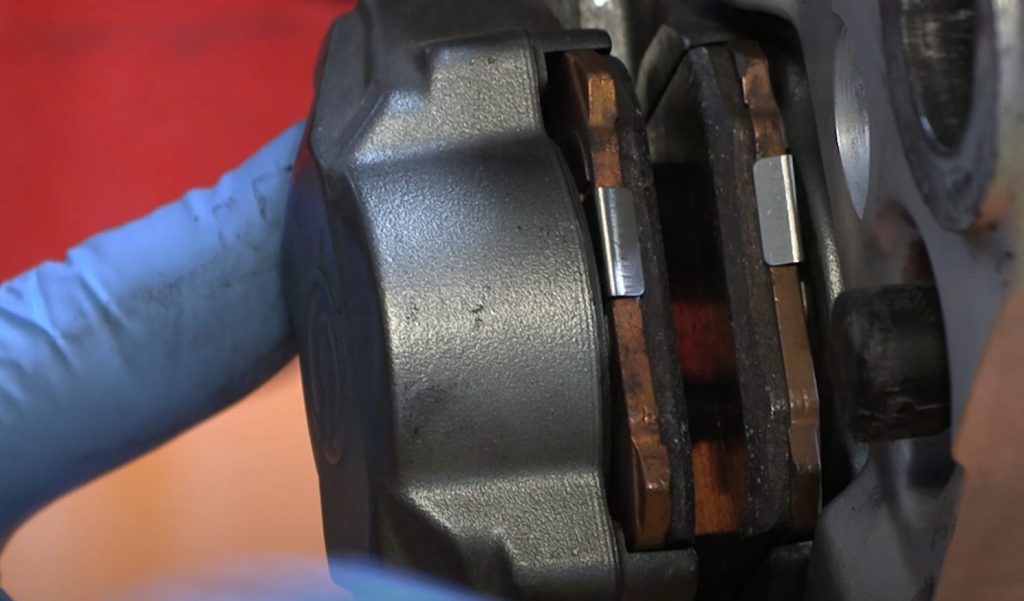
- Bevel your brake pads: This little race trick involves cutting a 45-degree angle on the leading edge of the brake pads. It allows the rotor to slide between the pads smoothly when reinstalling the wheel.
Step 2: Installing the Adjusters
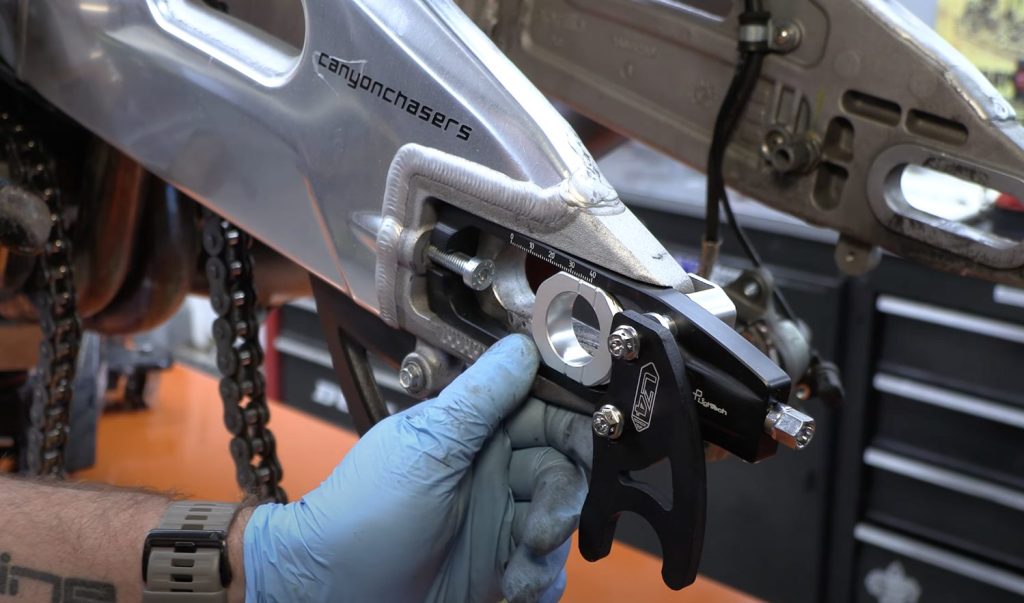
One of the highlights of the L74 kit is its chain adjusters. These aren’t just any adjusters—they feature micro-click detents, making fine-tuning chain tension and alignment an absolute breeze. The quality is unmistakable, and they look and feel premium.
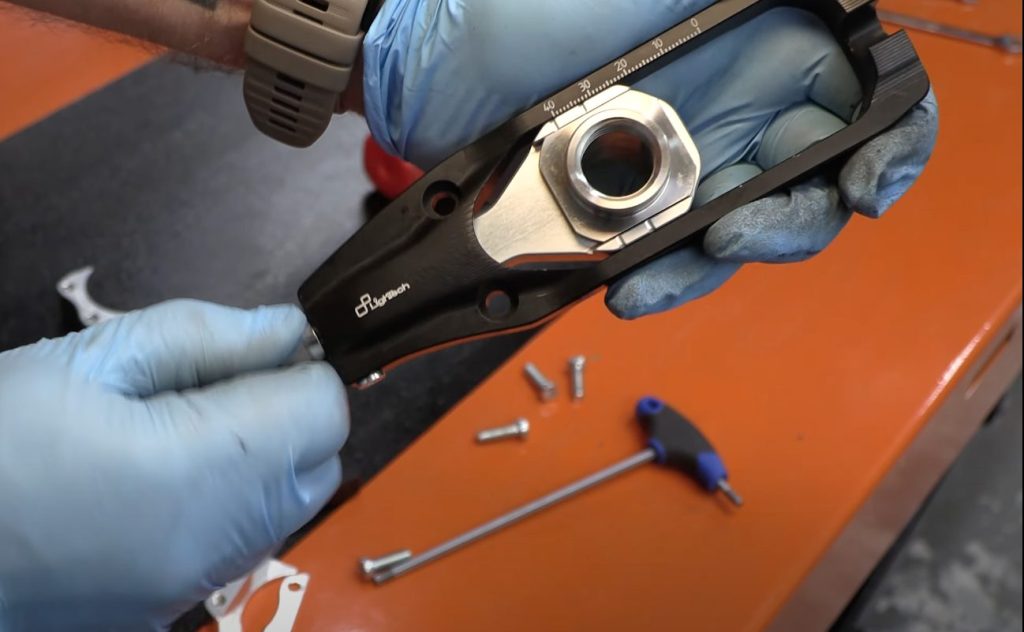
Pro tip: Use Loctite when securing these parts. The last thing you want is for something to shake loose mid-ride.
Step 3: Drilling and Tapping
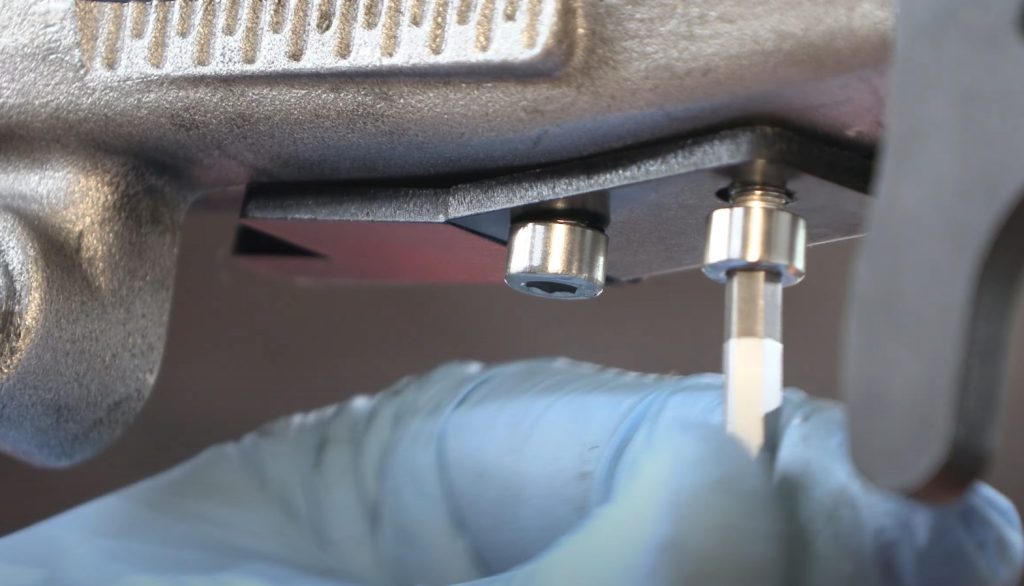
This part made me nervous. To install the kit, I had to drill and tap two holes into the swingarm—a one-shot deal with no margin for error. The kit didn’t include the proper drill or tap sizes (a gripe for a $1,000 product), but a quick call to my machinist buddy saved the day.
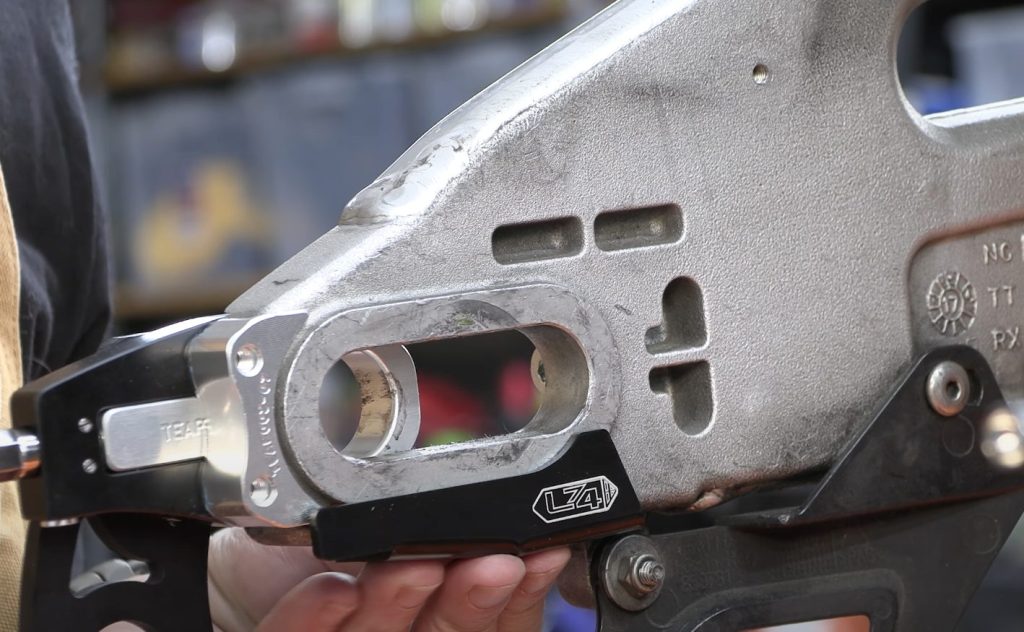
With careful measurements, cutting oil, and a steady hand, the holes were drilled and tapped successfully. Crisis averted!
Step 4: The Axle and Carrier
The pièce de résistance of the L74 kit is the redesigned rear axle.
- Tapered tip: Guides the axle into place effortlessly.
- Reverse threads: Allow tightening to push the wheel forward against the adjusters, ensuring perfect alignment.
- Captured nut: Eliminates the risk of dropping or losing the nut during installation.
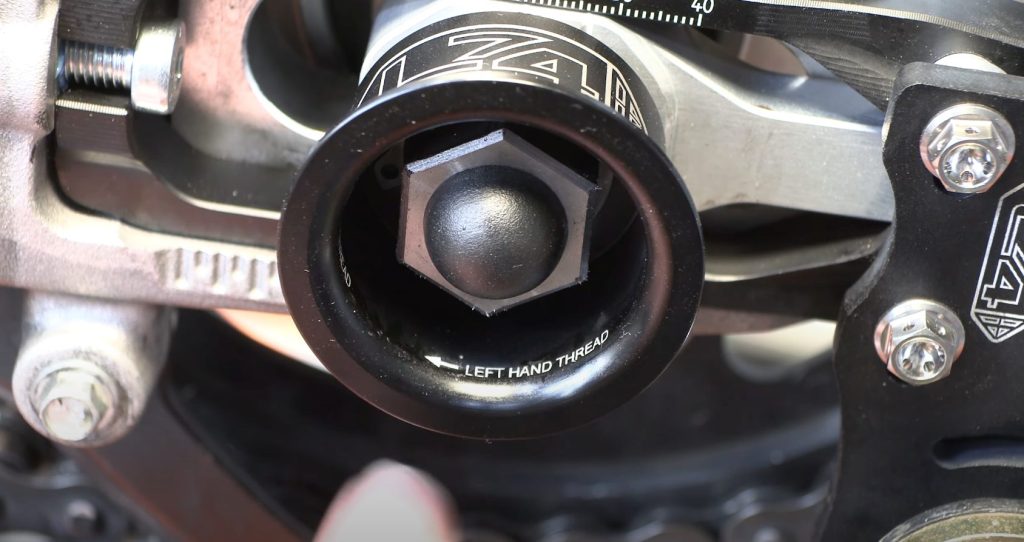
When combined with the carrier system, the wheel practically aligns itself during installation. After some initial fiddling to get the chain and sprocket in place, the axle slid through with minimal effort—far better than the old setup.
Why Hooks Beat Buttons
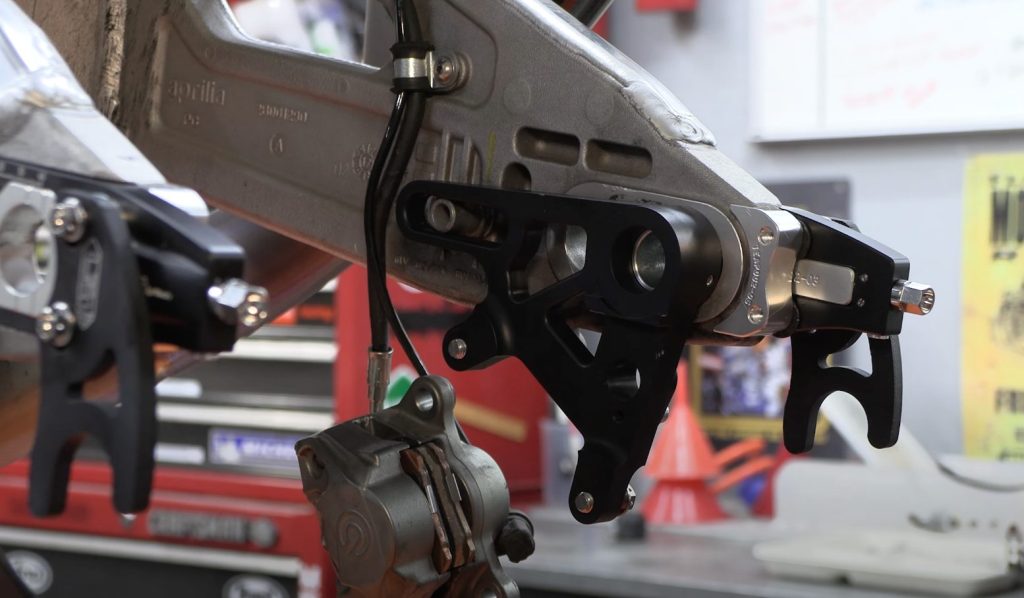
One interesting design choice is the use of hooks instead of the typical swingarm-mounted buttons for the stand. Here’s why hooks are superior:
- Durability in crashes: Buttons can snag the ground and rip threads or even damage the swingarm itself. Hooks are less likely to catch and, if damaged, are far easier (and cheaper) to replace.
- Ease of use: Hooks allow for faster deployment of the stand, saving time and effort during routine maintenance.
Verdict: Was It Worth It?
At $1,000, the L74 quick-change kit isn’t cheap, but it’s also not the most expensive option (some kits go for $3,000 or more). After testing it out, I can confidently say it’s worth every penny—especially for track enthusiasts or anyone looking to reduce the hassle of frequent tire changes.
For me, the biggest win is how it mitigates the back pain I’ve been dealing with since my time in the military. Working on the bike is now less of a chore and more of a joy.
Final Thoughts
Whether you’re considering a quick-change kit or just want to make chain adjustments easier, investing in high-quality components like the LighTech adjusters is a game-changer. These small upgrades add up, saving you time, effort, and frustration.
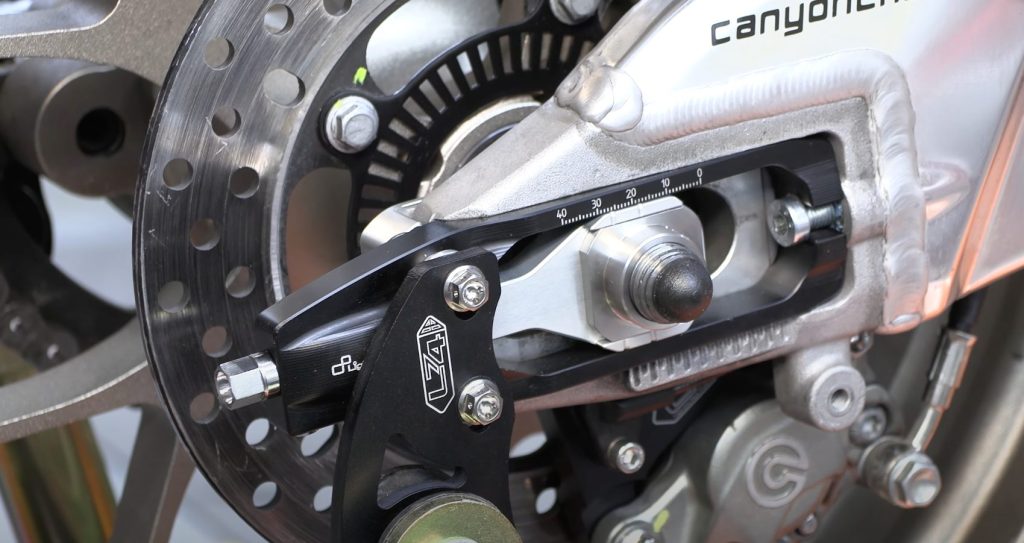
Thank you for joining me on this installation journey! It’s been a rewarding experience, and I hope this post helps you tackle your next motorcycle upgrade with confidence.
As always, ride safe and wrench well!
Got a favorite bike hack or upgrade? Share it in the comments below!
